Installing a heat pump can be a complex task, but it offers numerous benefits for home heating and cooling. A heat pump provides an energy-efficient solution by transferring heat between the inside and outside of your home. This versatility makes it a popular choice among homeowners looking to replace or supplement their existing heating systems, whether it’s for boiler installation, furnace installation, or even ductless mini splits.
Our professionals understand the importance of a properly installed heat pump. A well-installed system ensures optimal performance, efficiency, and longevity. This guide will walk you through the essential steps of heat pump installation, helping you understand the process from preparation and planning to post-installation maintenance. By the end of this guide, you’ll know what to expect and how to ensure your heat pump operates smoothly.
Preparation and Planning for Heat Pump Installation
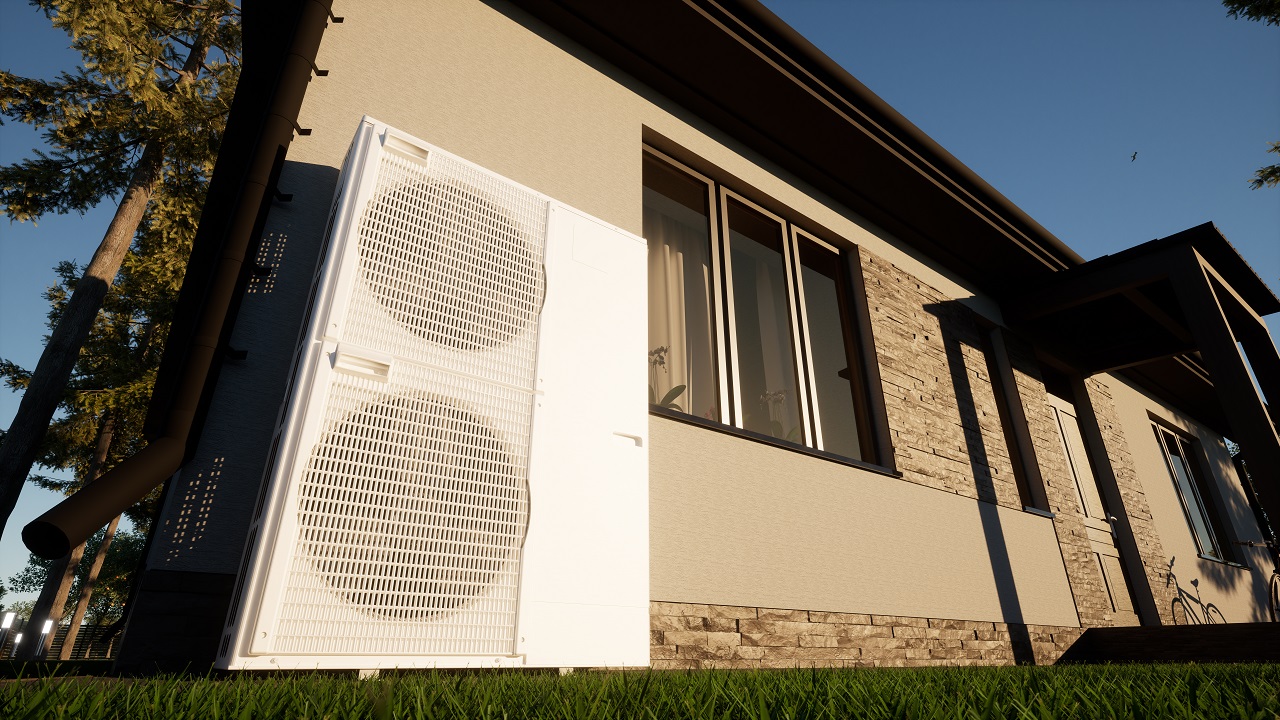
Before starting the heat pump installation, it’s essential to have a solid plan in place. This involves determining the best location for both the indoor and outdoor units. The indoor unit should be situated where it can distribute air evenly throughout the room, while the outdoor unit needs to be placed in a location with sufficient airflow and minimal obstructions. It is important to avoid proximity to windows or doors to minimize noise and ensure optimal performance.
Our professionals conduct a thorough site inspection to assess the suitability of various locations in your home. They also check for any potential obstacles that could interfere with installation. For instance, they consider existing systems like carrier furnaces or ductless mini splits to ensure compatibility and avoid interference. By addressing these considerations at the planning stage, we can avoid complications during the installation process.
Next, our technicians will gather all the necessary tools and materials. This includes the heat pump unit, mounting brackets, refrigerant lines, electrical wiring, and control units. They will also ensure that all permits and approvals have been obtained, if required, to comply with local building codes. This preparation phase is vital for a smooth and efficient installation process.
Step-by-Step Installation Process
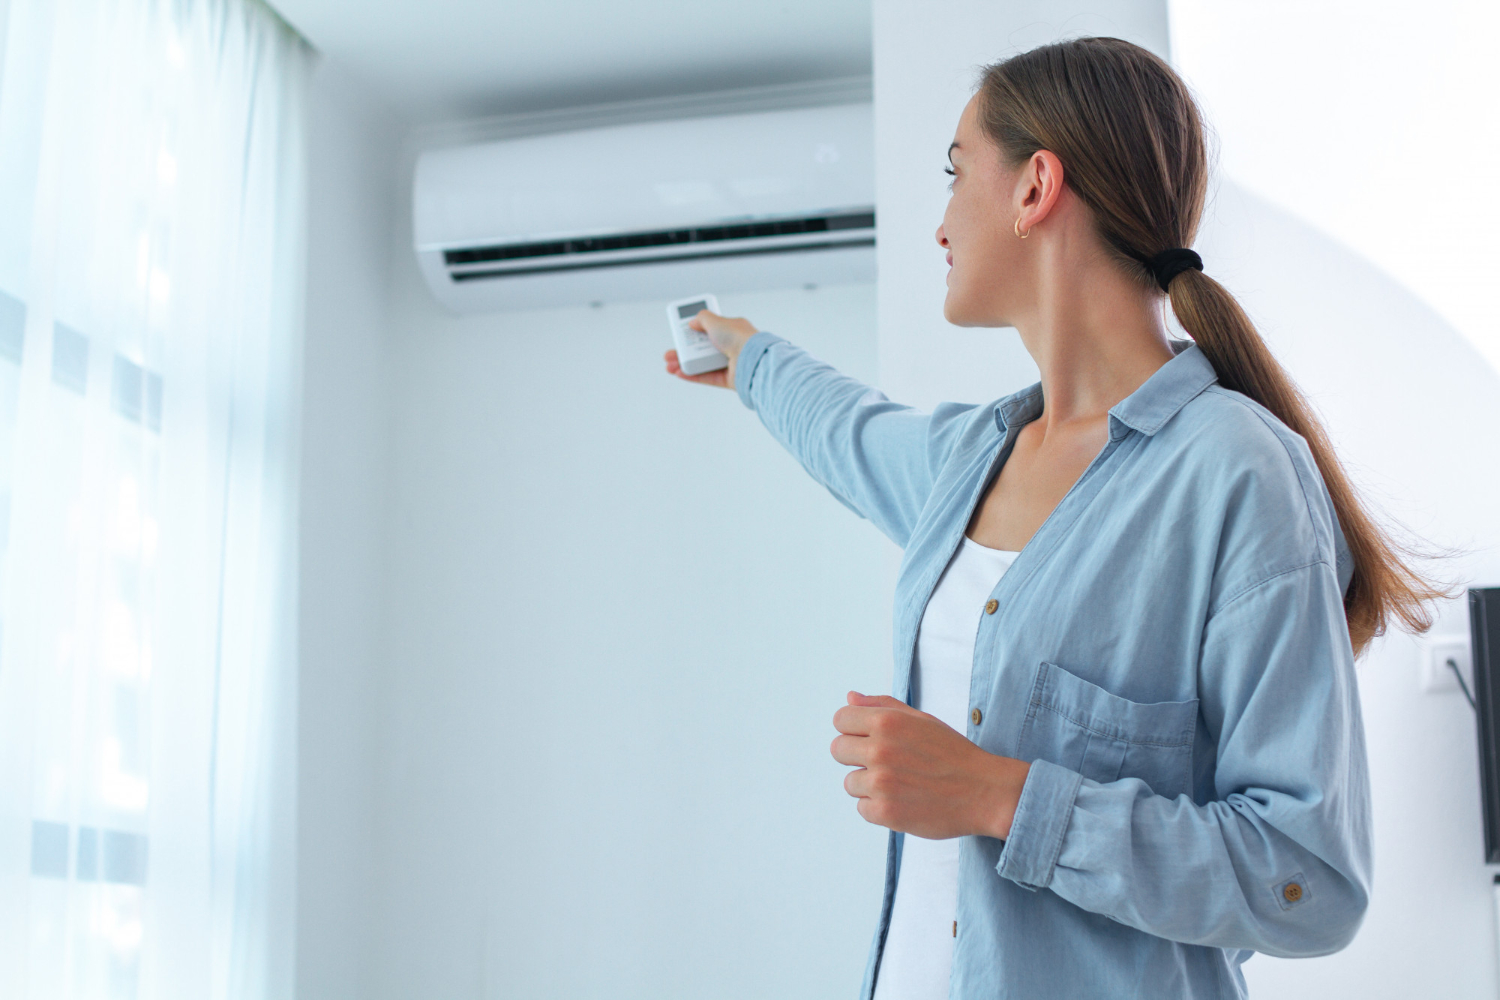
Once the planning and preparation are complete, our technicians proceed with the actual installation. The first step is to mount the indoor unit securely in the predetermined location. This involves attaching the mounting bracket to the wall and ensuring it is level. The indoor unit is then carefully hung on the bracket, and proper alignment is checked to ensure optimal operation.
Next, the outdoor unit is installed. This requires a sturdy, level surface to support the unit’s weight. Our professionals place the unit in a position that ensures unobstructed airflow and easy access for maintenance. The unit is then securely anchored to prevent movement or vibrations during operation.
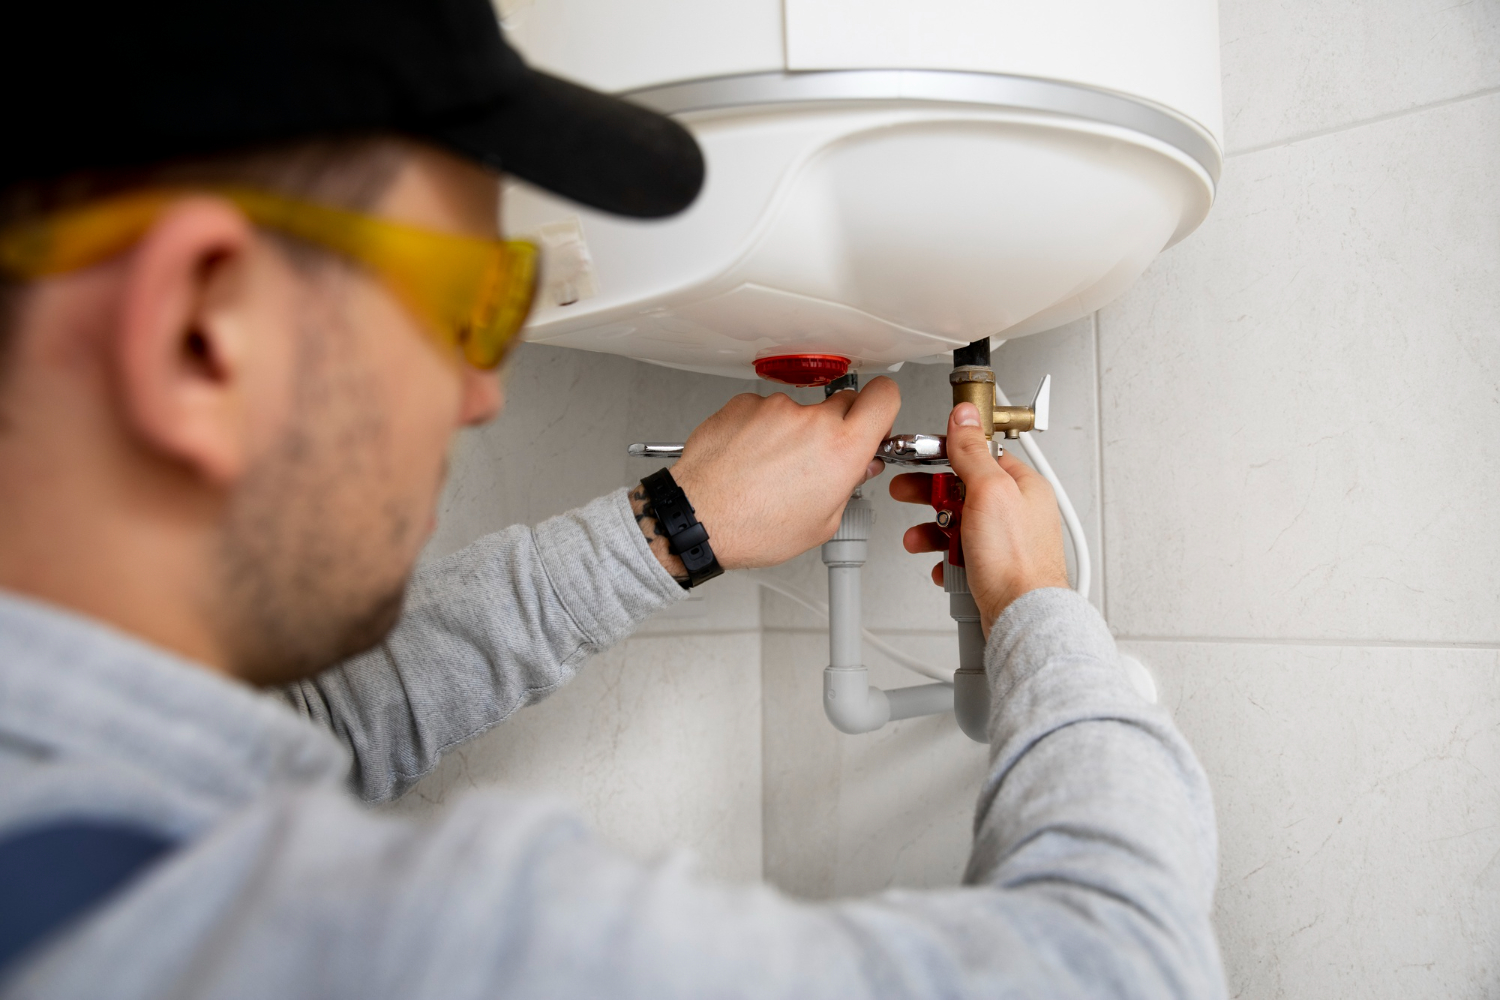
After both units are mounted, the refrigerant lines are connected. These lines facilitate the transfer of heat between the indoor and outdoor units. Our technicians carefully measure and cut the lines to the correct length, ensuring a secure and leak-free connection. The lines are then insulated to prevent energy loss and protect against weather-related damage.
With the refrigerant lines in place, the next step involves running the electrical wiring between the indoor and outdoor units. Our professionals take great care to follow safety protocols and local electrical codes. Once all connections are made, the system is powered on, and the refrigerant is charged according to manufacturer specifications. This detailed process ensures that your heat pump operates efficiently and reliably.
Connecting Electrical Components and Controls
Once the heat pump components are securely in place, the next crucial step is connecting the electrical components and controls. Proper electrical connections are essential for the efficient and safe operation of the heat pump. Our professionals start by turning off the main power supply to ensure safety during the wiring process.
First, the indoor unit is connected to the dedicated circuit that our technicians have installed during the planning phase. This involves connecting the appropriate wires to the terminal block within the unit. Our technicians follow the manufacturer’s diagrams to ensure all connections are correctly established. Wiring includes connecting power supply cables, communication cables between the indoor and outdoor units, and grounding wires for safety.
Next, the outdoor unit is wired to the power supply. Our professionals ensure that the circuit breaker capacity matches the heat pump’s requirements to avoid electrical overload. They also install any necessary electrical disconnects to comply with local code regulations. After connecting the power and communication wires, they configure the control settings to match the specifications indicated by the heat pump manufacturer.
Finally, our technicians test the system to ensure that all electrical connections are sound and that the controls communicate effectively between the indoor and outdoor units. This testing phase includes verifying voltage levels, inspecting the accuracy of control settings, and running the system in various modes to confirm its operational integrity.
Post-Installation Inspection and Maintenance
The installation process doesn’t end with connecting the electrical components. A thorough post-installation inspection is essential to make sure everything is working correctly and efficiently. Our professionals start by checking the refrigerant levels and ensuring there are no leaks in the system. Proper refrigerant levels are crucial for the heat pump to run efficiently and provide effective heating and cooling.
We also inspect the airflow around both the indoor and outdoor units. Obstructions or improper clearance can hinder performance and cause long-term issues. Our technicians ensure that the outdoor unit is free from debris, and that the indoor unit has unobstructed pathways for air distribution.
Routine maintenance is another important aspect of heat pump care. Regularly scheduled maintenance helps to prevent unexpected breakdowns and extends the lifespan of the heat pump. Tasks such as cleaning or replacing filters, checking electrical connections, and inspecting the overall condition of the units are part of routine maintenance.
Our professionals recommend scheduling regular maintenance sessions to keep your heat pump in optimal condition. This proactive approach not only enhances efficiency but also helps avoid the need for frequent heat pump repair services.
Conclusion
Heat pump installation involves a series of well-coordinated steps to ensure optimal performance and longevity. From meticulous planning and preparation to the actual installation and post-installation maintenance, each step is crucial. A properly installed heat pump offers numerous benefits, including energy efficiency, improved indoor comfort, and reliable operation.
Understanding the installation process empowers you to make informed decisions and ensures the system operates at its best. If you’re ready to explore heat pump installation as a solution for your home, our professionals at Neil Thomas Plumbing & Heating Inc. are here to assist. Contact us today to schedule a consultation and let us help you achieve the perfect indoor climate with our expert heat pump installation services in Galesburg.


