Installing a heat pump is a significant step toward enhancing your home’s air conditioning and heating efficiency. A heat pump not only regulates your home’s temperature but also offers an energy-efficient solution for year-round comfort. Understanding what happens during a heat pump installation can help you prepare and ensure everything goes smoothly.
Initial Assessment and Planning
Before the actual installation of a heat pump, a thorough initial assessment and planning phase is crucial. This first step involves evaluating your home’s heating and cooling needs. Our professionals visit your home to conduct an on-site assessment, examining factors like the size of your home, existing ductwork, and insulation levels.
We also consider the specific locations where the indoor and outdoor units will be placed. This involves measuring the areas and ensuring that the chosen locations will optimize airflow and efficiency. Additionally, we assess any potential obstacles that could impact the installation, such as existing plumbing or electrical setups.
Once the evaluation is complete, our technicians create a personalized installation plan. This plan outlines all the materials needed, the timeline for each part of the installation, and any specific requirements unique to your home. This detailed planning helps ensure that the installation process is smooth and efficient, with minimal disruptions to your daily routine.
Preparing for Installation Day
Preparation is key to a successful heat pump installation. As the homeowner, you can take several steps to help make the installation day go as smoothly as possible. First, clear the areas where the indoor and outdoor units will be installed. Move any furniture, decorations, or obstructions that could hinder the process.
Next, ensure that pets and small children are kept away from the work areas. This precaution not only keeps them safe but also allows our technicians to focus on the installation without interruptions. Another important step is to provide easy access to the electrical panel, as our professionals will need to connect the heat pump to your home’s power supply.
Finally, take a moment to review the installation plan provided by our technicians. Familiarize yourself with the steps involved and ask any questions that may arise. By understanding the process and preparing your home ahead of time, you help ensure that the installation goes smoothly and efficiently, setting the stage for a successful and reliable heat pump system.
Step-by-Step Heat Pump Installation Process
The installation process for a heat pump involves several steps, each of which is crucial for the system’s proper functioning. Here’s an overview of the steps our technicians follow:
1. Setting Up the Outdoor Unit: First, we identify the best location for the outdoor unit. It needs proper ventilation and should be placed on a level surface. We then securely install the unit, ensuring it is stable and protected from potential weather-related damage.
2. Installing the Indoor Unit: Next, we find the optimal location for the indoor unit. This usually involves mounting it on a wall in the selected room. We make sure it is positioned to maximize airflow and efficiency.
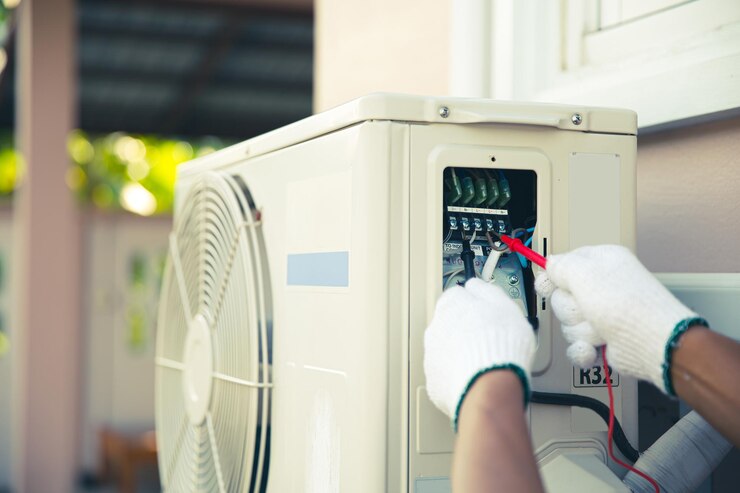
3. Connecting the Refrigerant Lines and Electrical Wiring: We then connect the refrigerant lines between the indoor and outdoor units. These lines must be properly insulated and sealed to prevent leaks. Our professionals also connect the electrical wiring, ensuring everything complies with safety codes and regulations.
4. Testing the System: After all connections are made, we thoroughly test the entire system. This involves checking for any leaks, verifying the electrical connections, and ensuring the unit is operating as expected. We also measure airflow and temperatures to make sure the system is running efficiently.
Post-Installation Care and Maintenance Tips
Once your heat pump is installed, proper maintenance is key to keeping it in good working condition. Here are some essential care and maintenance tips:
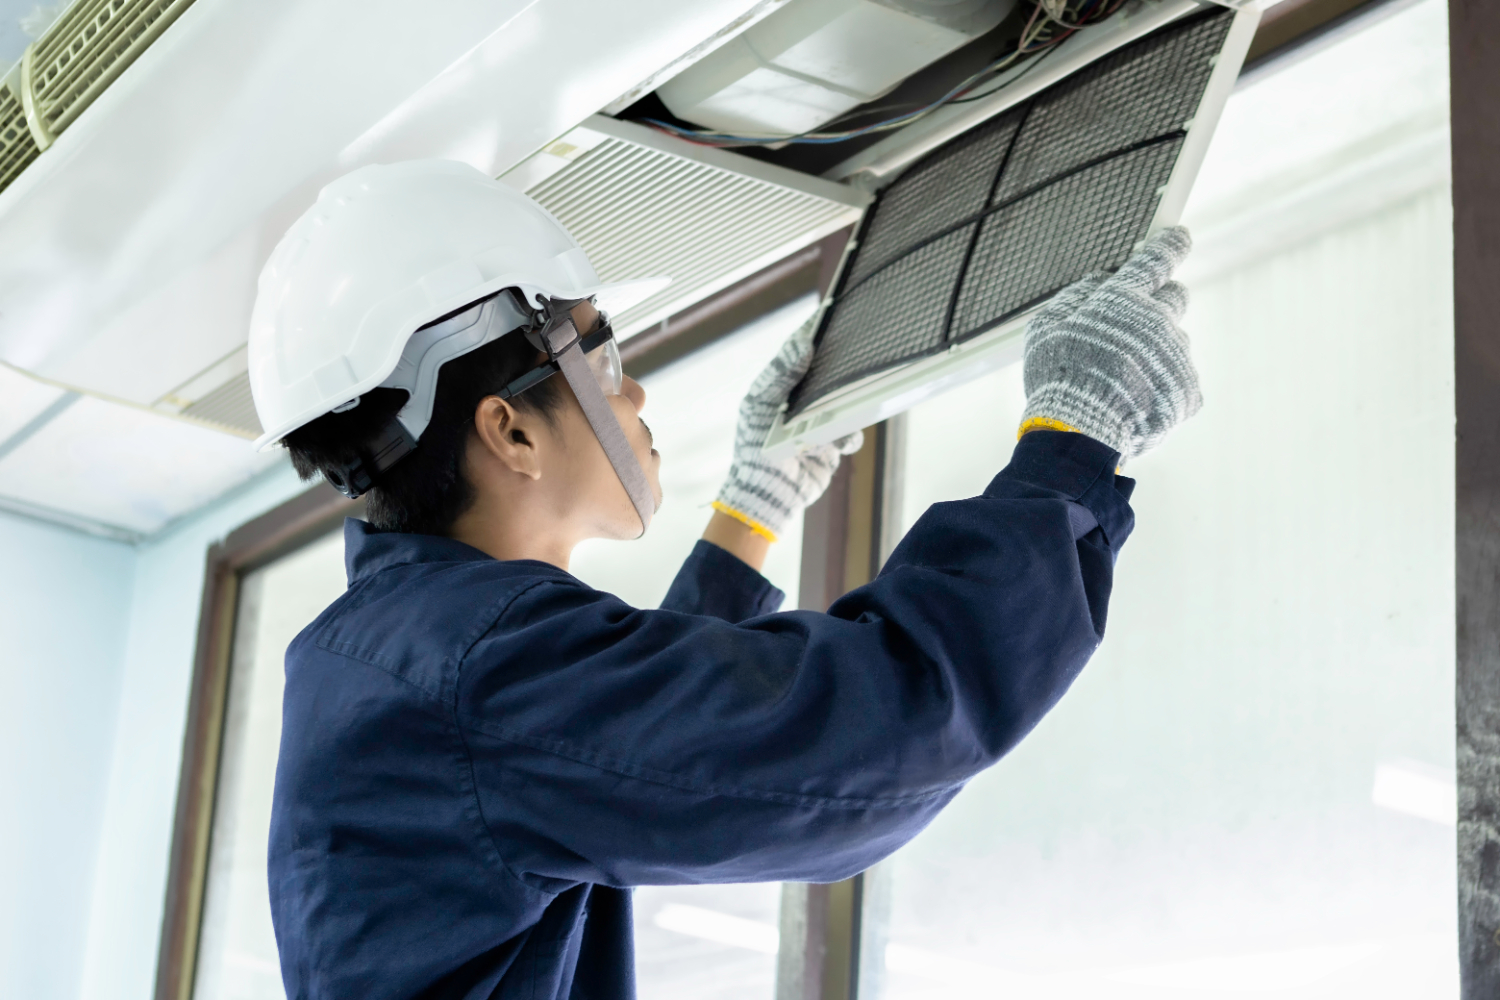
1. Regular Filter Cleaning: Clean or replace the filters regularly to maintain efficient airflow and improve air quality. Dirty filters can impede the system’s performance and increase energy consumption.
2. Inspect the Outdoor Unit: Periodically check the outdoor unit for debris, such as leaves, dirt, or snow. Keeping the area around the unit clear ensures it functions properly and prevents potential damage.
3. Monitor System Performance: Keep an eye on your heat pump’s performance. If you notice any unusual noises, temperature fluctuations, or an increase in your energy bills, contact our professionals for an inspection. Early detection of issues can prevent costly repairs.
4. Annual Professional Maintenance: Schedule a yearly maintenance check with our technicians. We’ll inspect all components, check refrigerant levels, and ensure everything is operating efficiently. Regular professional maintenance can prolong the lifespan of your heat pump and ensure optimal performance.
Conclusion
Installing a heat pump is a significant upgrade that can greatly enhance your home’s air conditioning and heating capabilities. From the initial assessment and planning to the final installation and post-installation care, each step is crucial for a seamless and efficient system. Understanding what to expect during the installation process helps you prepare and ensures the project goes smoothly.
At Neil Thomas Plumbing & Heating Inc., our experienced professionals are dedicated to providing top-quality heat pump installation and maintenance services. We take pride in delivering reliable and efficient HVAC solutions to keep your home comfortable all year round.
For expert heat pump installation in Galesburg, reach out to us today. Let us help you achieve optimal comfort and efficiency for your home.


